


ProCur Curing Light (Refurbished)
No reviews yet
$239.00
-
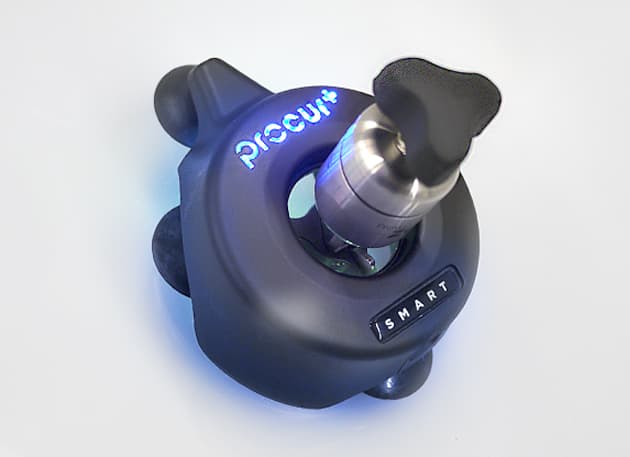
GlasWeld’s ProCur+ windshield repair curing light takes the guesswork out of curing. Use it with a battery pack, and you’ll enjoy 360º curing in under one minute. Includes a USB charging cable.
Our refurbished products are backed with a one-year warranty and tested thoroughly to give you the same experience as you would with a brand new one at a discount!
The ultimate goal of windshield repair is to restore the structural integrity of the windshield. For that to happen, the repair resin must be fully cured.
Enter our line of ProCur curing lights. Our premium curing lights provide a complete 360º cure in less than one minute. Featuring a built-in timer and LED bulbs, these cutting-edge lights take the guesswork out of curing.
All ProCur lights fit on top of any GlasWeld injector for curing under pressure. No more worrying about air bubbles, resin displacement, or debris getting in your uncured repair. Don’t use a GlasWeld injector? Place the ProCur over your repair once you’ve completed the injection cycle and removed your injector.
Note: Photos shown are for illustration purposes only. Actual product may vary due to product enhancements and adjustments.
Features of the ProCur+:
- 360º Cure: The ProCur+ cures all sides of the break at once; no need to re-position it.
- 1-minute Cure Time: The ProCur+ fully cures the resin in less than a minute.
- Built-in Timer: Press the button and walk away. Once the ProCur+ logo stops flashing less than a minute later, you’ll know the break is cured.
- LED Bulbs: Never worry about replacing bulbs. The LED bulbs last for 10,000+ hours.
Note: The ProCur+ requires a power source, such as a battery pack (not included), to operate.
ProCur+ Directions:
Once you’re ready to cure your repair, place the ProCur+ directly over your GlasWeld injector and press the button. The button will activate the built-in timer and the ProCur+ logo will start flashing.
The logo will stop flashing in less than a minute, and the resin will be fully cured.
How to Repair a Windshield
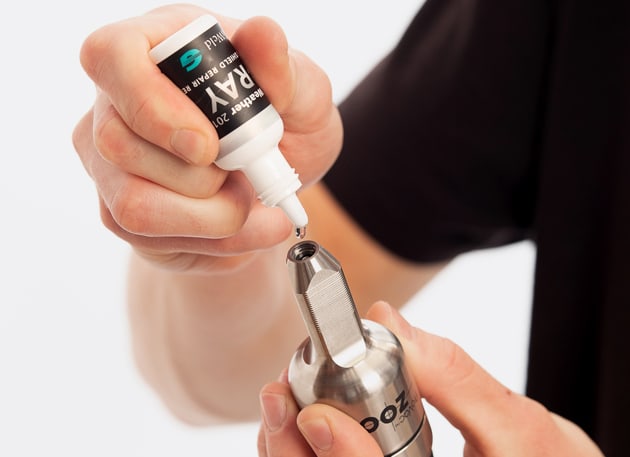
Step One
Load the Resin
Add a few drops of resin into the tip of the Zoom injector.
1/8
1/8
How to Repair a Windshield
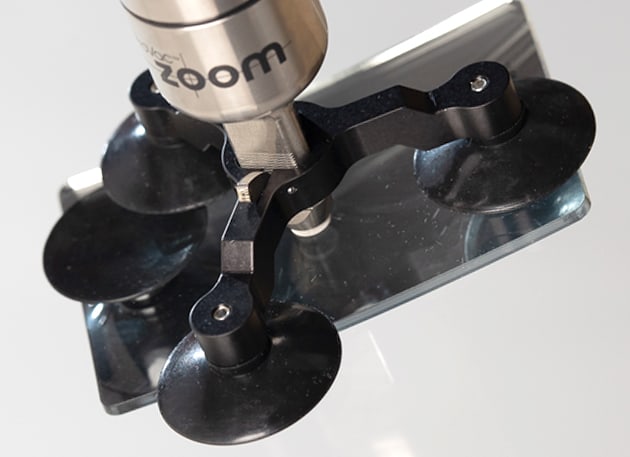
Step Two
Mount the Zoom
Attach the tripod stand to the glass, and mount the Zoom over the impact point of the break.
2/8
2/8
How to Repair a Windshield
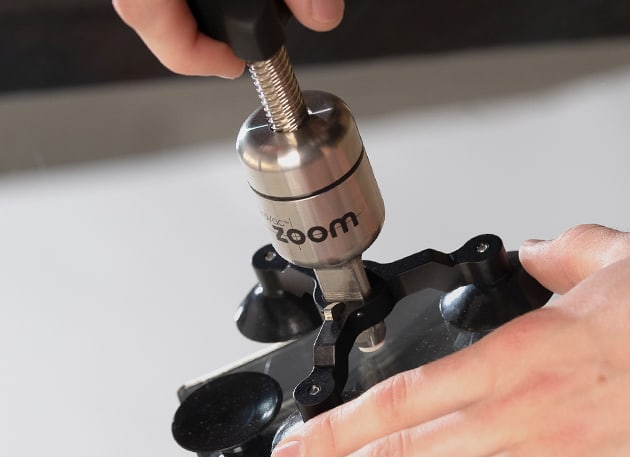
Step Three
Remove the Air
Initiate a vacuum by turning the Zoom handle counterclockwise until it stops. Leave it for at least one minute.
3/8
3/8
How to Repair a Windshield
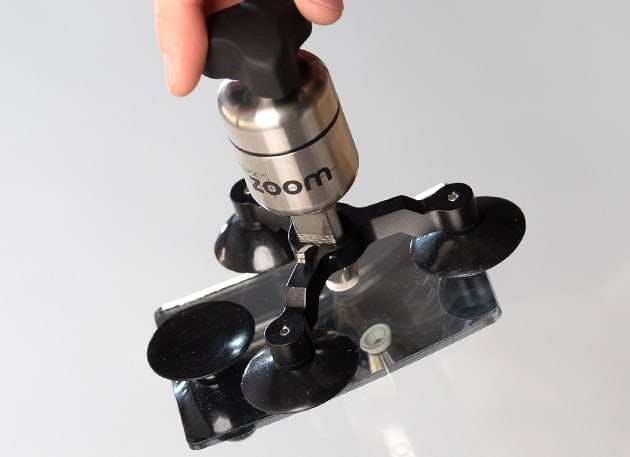
Step Four
Inject the Resin
Turn the Zoom handle clockwise until you see the Outer White Seal flare. Allow resin to flow for at least one minute.
4/8
4/8
How to Repair a Windshield
Step Five
Cure the Resin
Place the ProCur curing light directly over the Zoom. Press the button to start curing.
5/8
5/8
How to Repair a Windshield
Step Six
Fill the Pit
Remove all tools from the glass. Use one drop of Pit Filler and a Film Tab to level the surface of the glass. Cure the Pit Filler.
6/8

6/8
How to Repair a Windshield
Step Seven
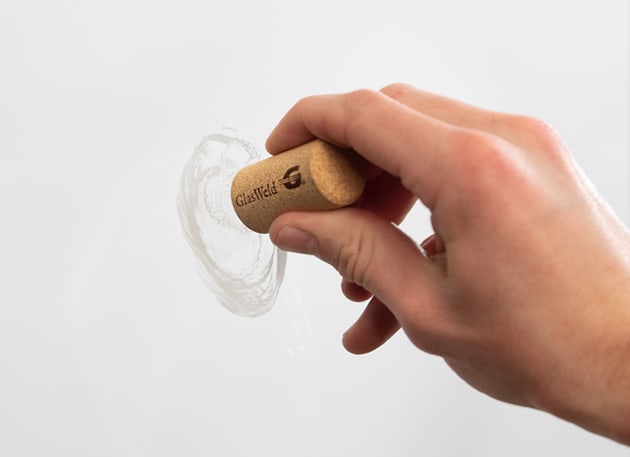
Polish the Repair
Use a razor blade to remove the extra Pit Filler. Use a small drop of Pit Polish and a cork to polish the repair.
7/8
7/8
How to Repair a Windshield
Zoom Demo
See It in Action
Most rock chips can be repaired in just a few minutes.
8/8

8/8
Products Used:
Professional Windshield Repair Kit
Shop Now