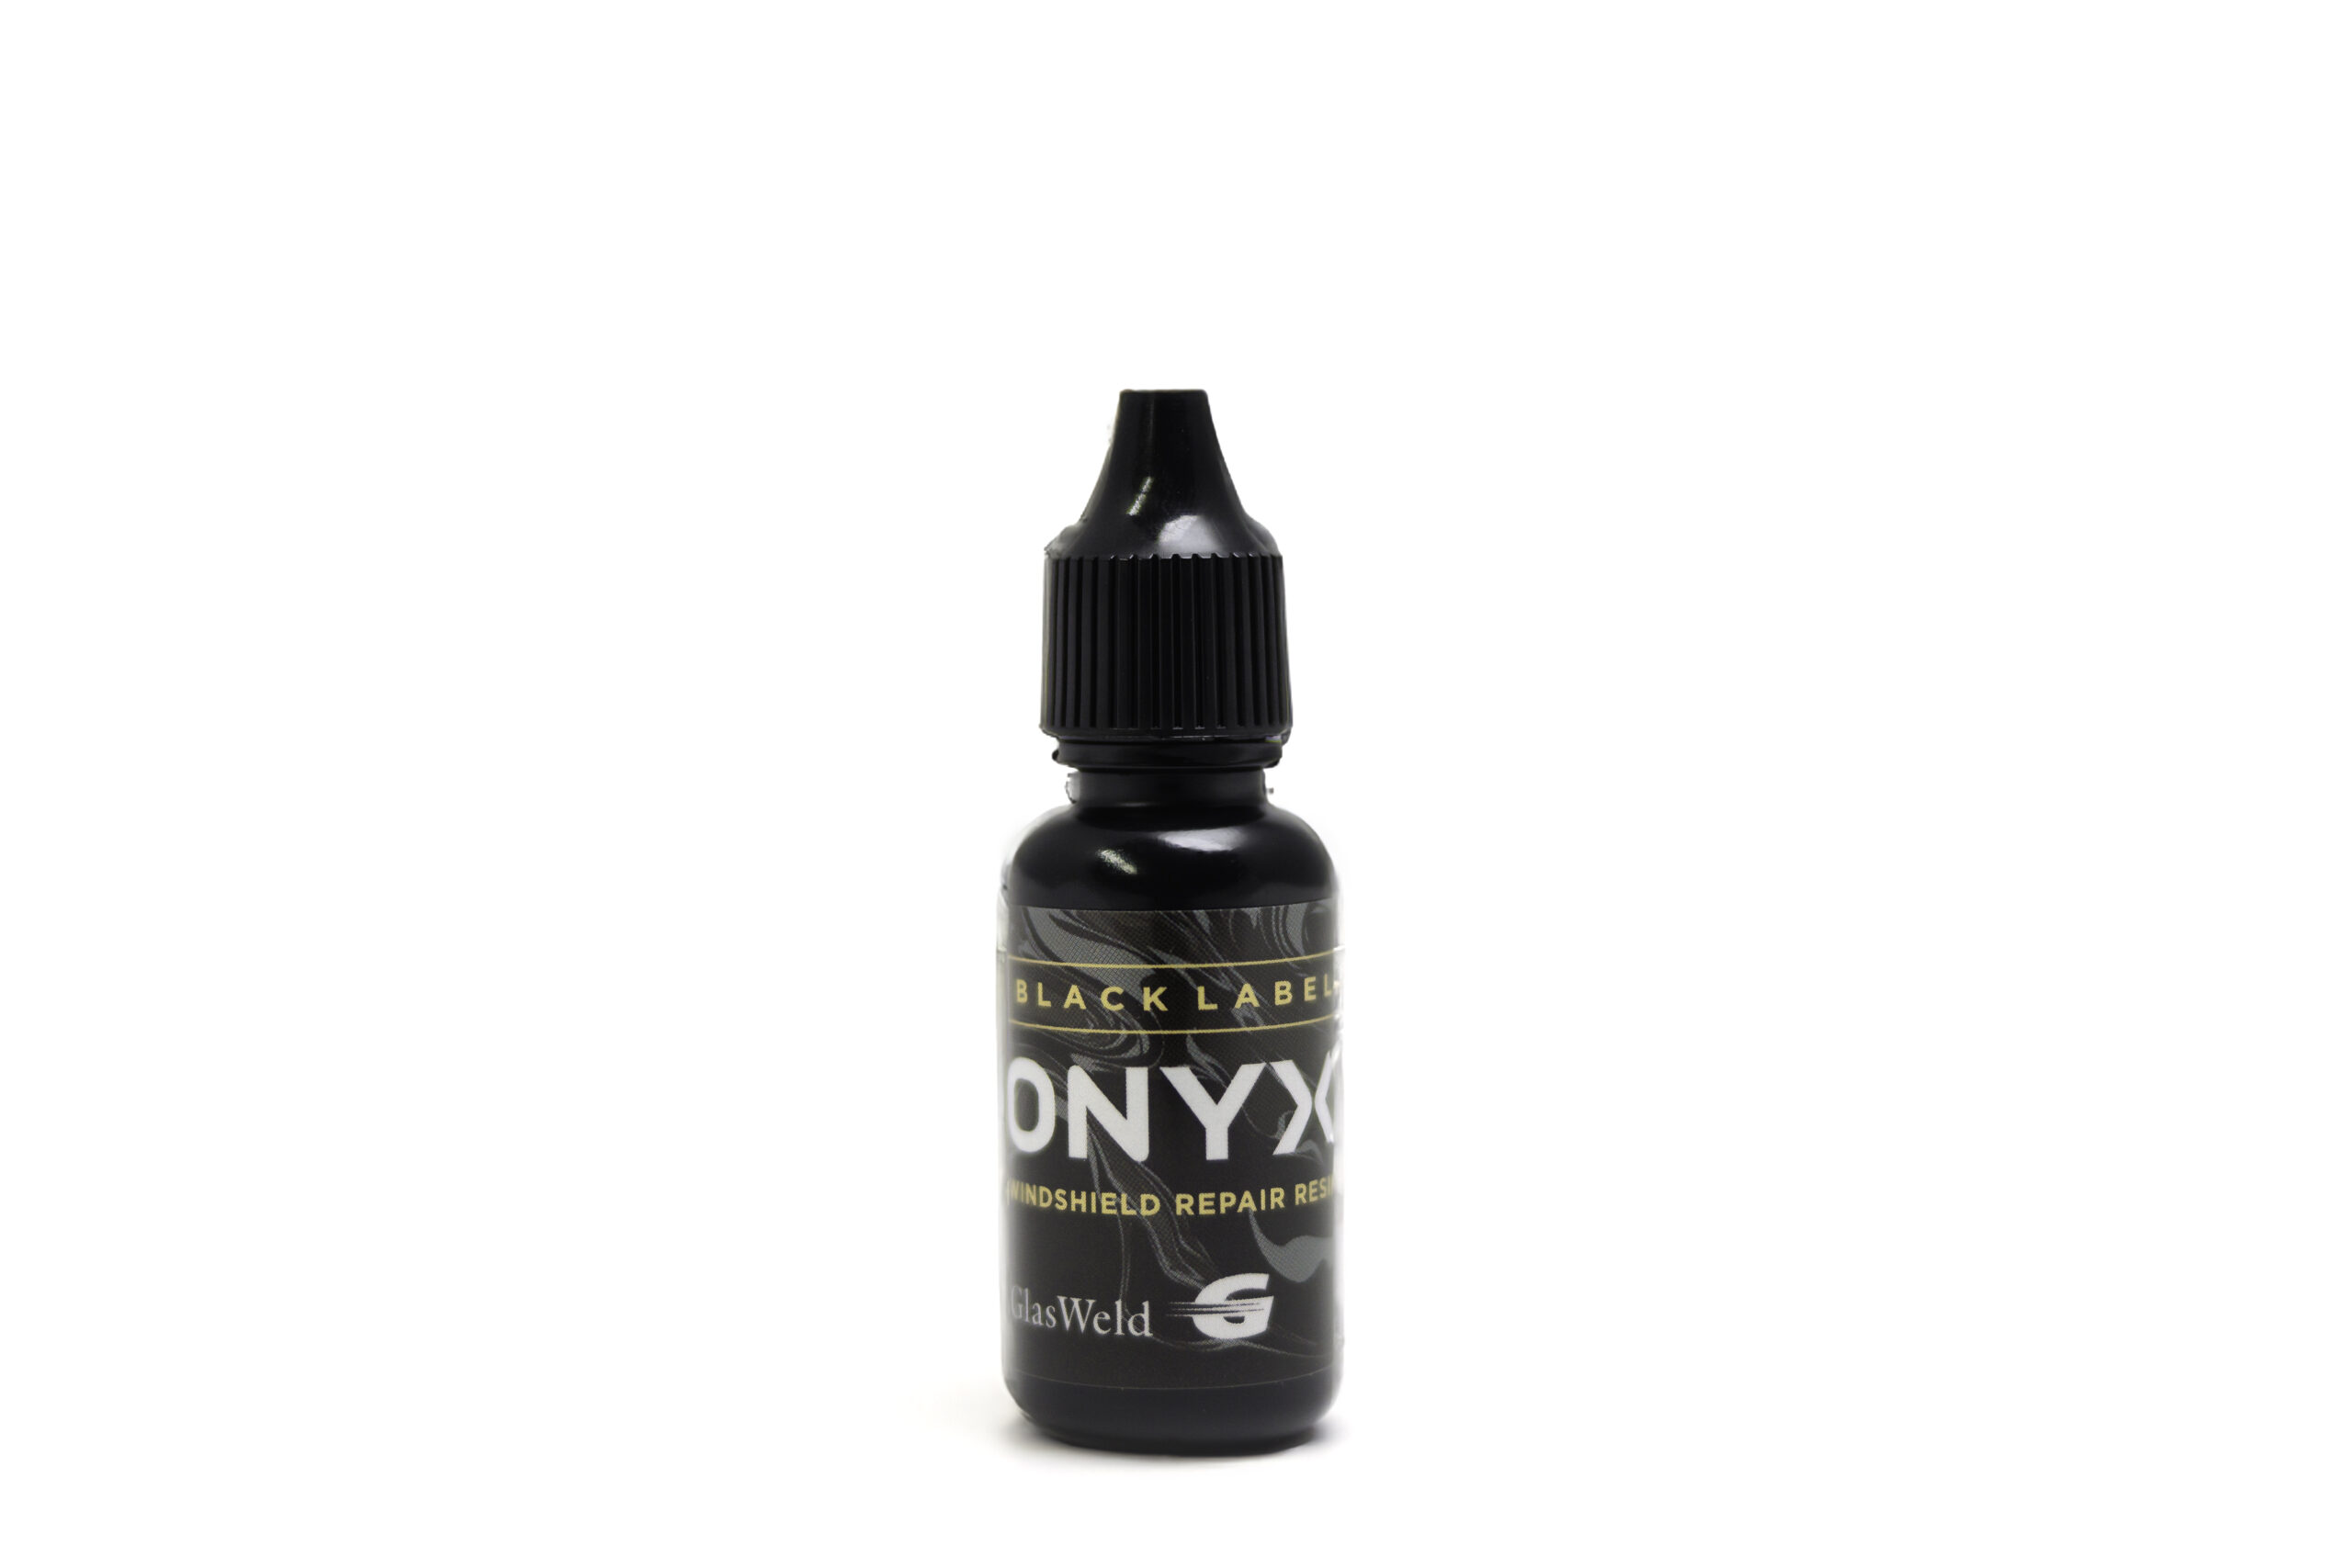

ONYX Resin
No reviews yet
$39.95
-
Worldwide Patent Pending
Onyx resin (15ml) is the top-tier resin choice for any true professional. Take disguising rock-chips to a whole new level, and get the black label experience with every repair! Worldwide patent pending.
Mix & Match Resin: Purchase 5 for 5% off, 10 for 10% off, 20 for 15% off, 40 for 25% off*. See description for details. Bulk and Mix & Match Resin Discounts Do Not Apply During Resin Promotions
Onyx Safety Data Sheets
Onyx Resin (15ml) is the top-tier resin choice for any true professional. Take disguising the break to a whole new level, and get the black label experience with every repair!
Don’t just take our word for it:
“My experience with Onyx Resin exceeded my expectations! First thing that came to mind after using it for the first time, was why didn’t we have this sooner. I thought I was already doing awesome repairs and now they are nearly invisible” –
Alfredo Calva, Alfredo’s Auto Glass
*Mix & Match Resin: Bulk buy rock-chip resin, long crack resin and pit filler and get discounts!
- 5 for 5% off
- 10 for 10% off
- 20 for 15% off
- 40 for 25% off
(Pit Polish not included. Not stackable with certified discount.)
Note: Photos are intended for illustration purpose only. Exact products may vary due to product enhancements and updates.
How to Repair a Windshield
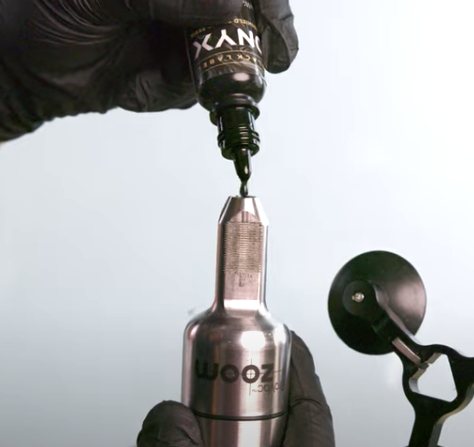
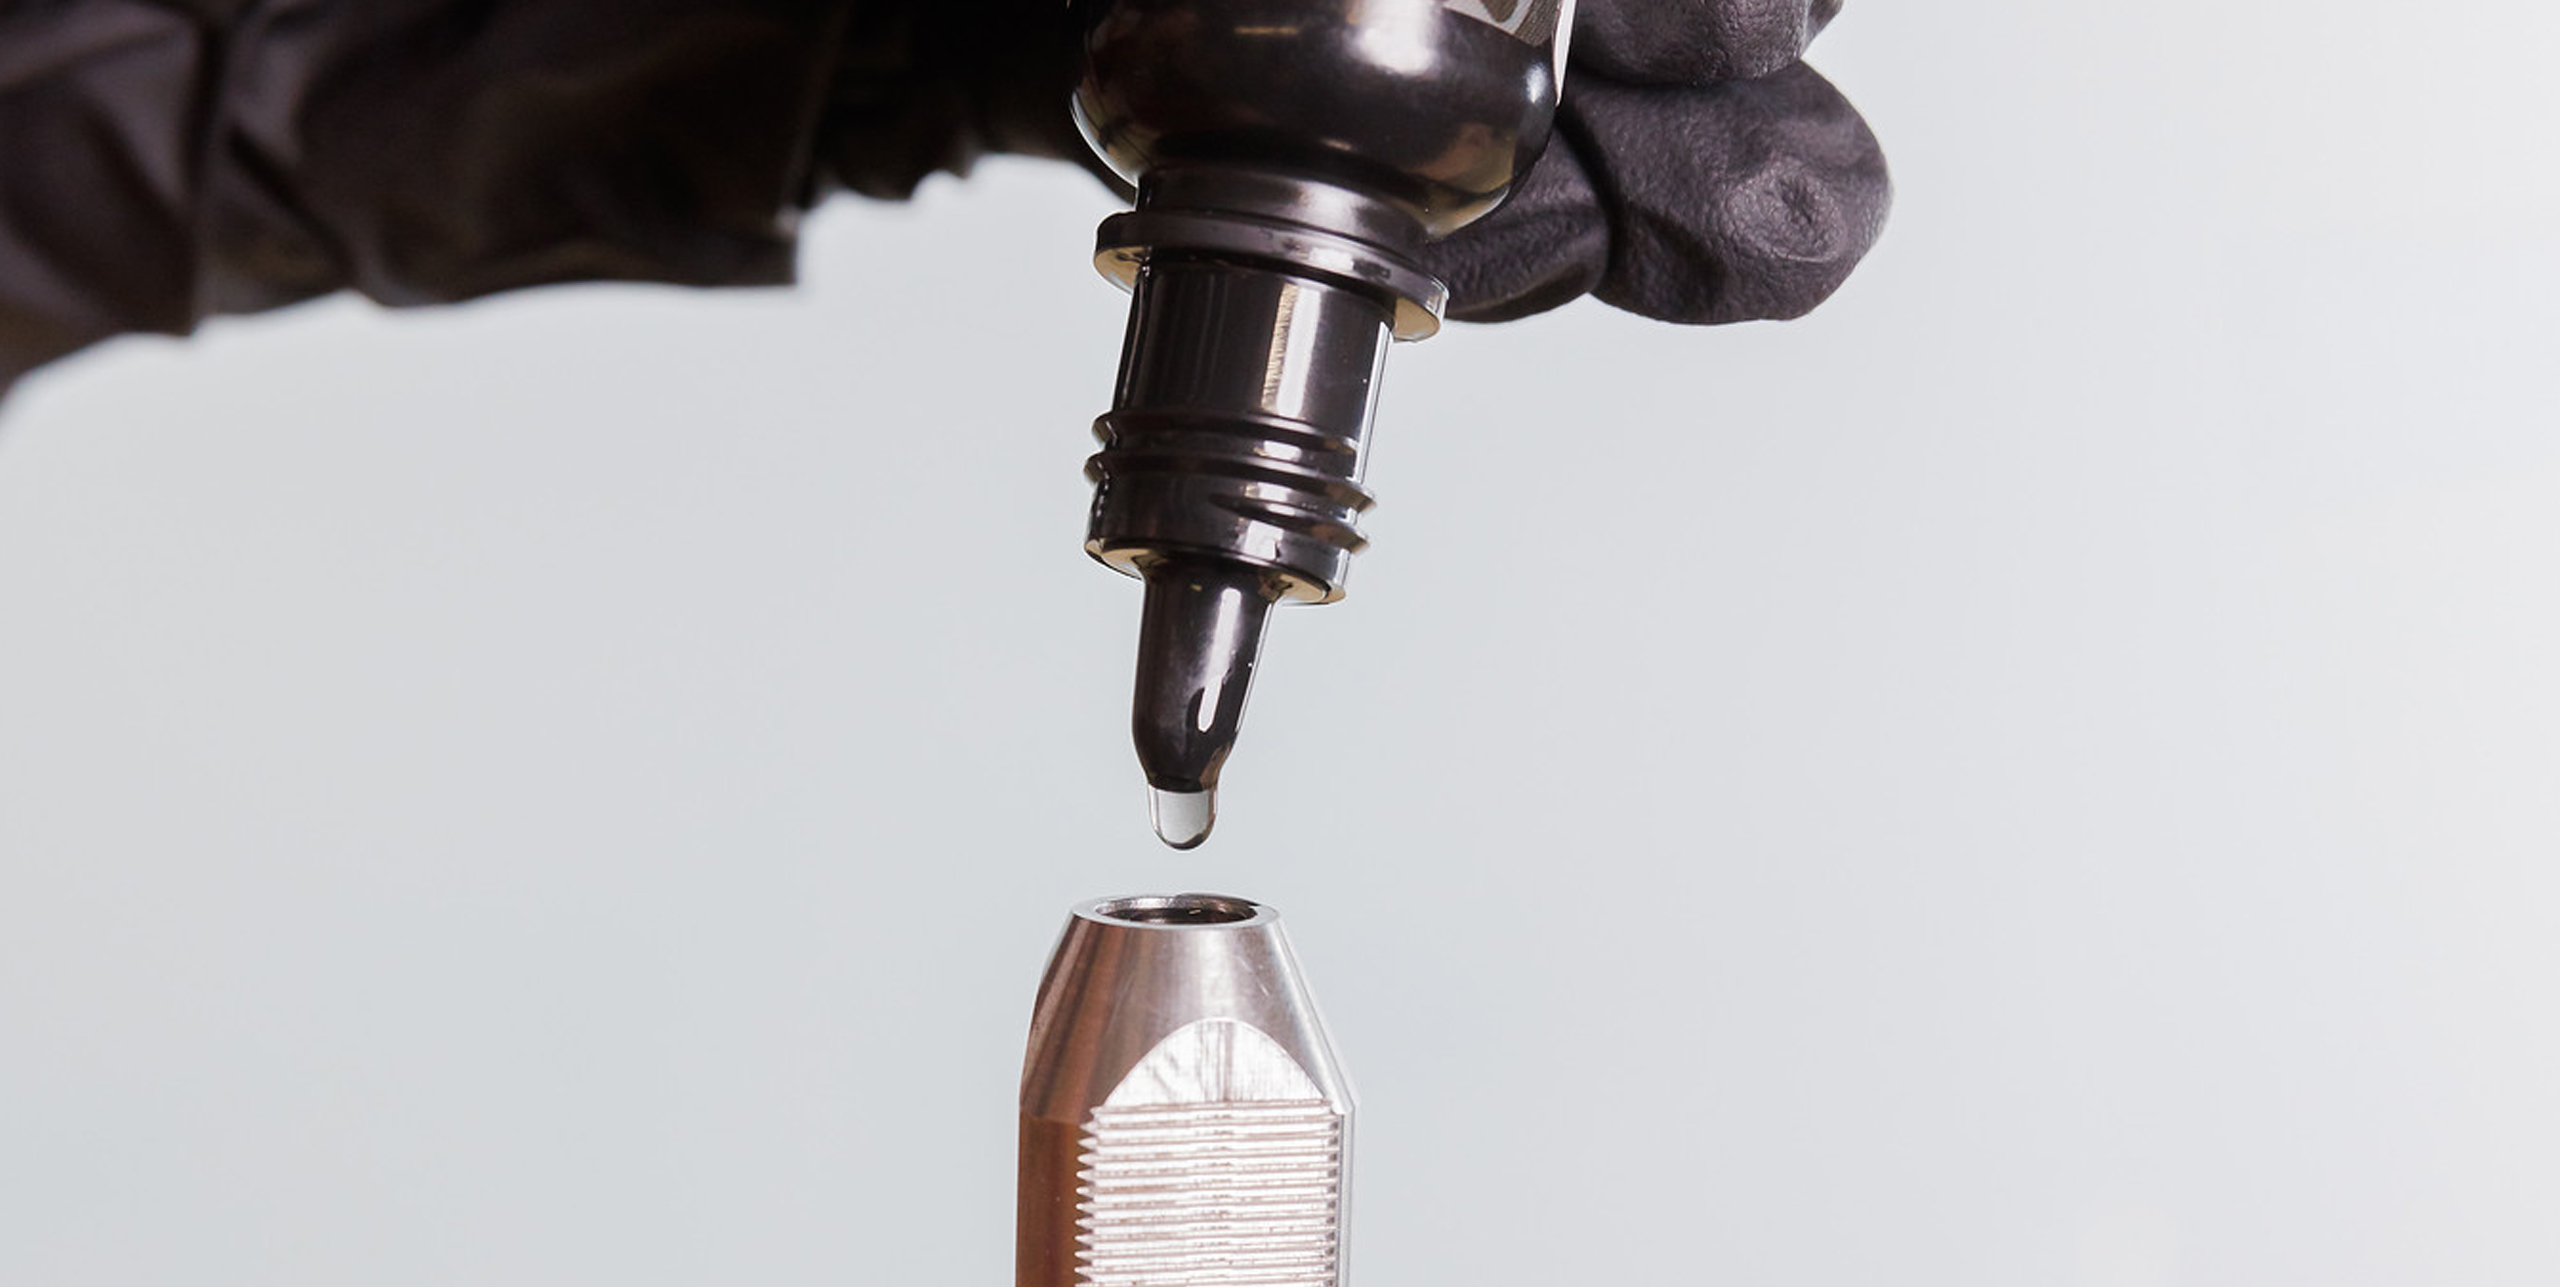
Step One
Load the Resin
Add a few drops of resin into the tip of the Zoom injector.
1/8
1/8
How to Repair a Windshield
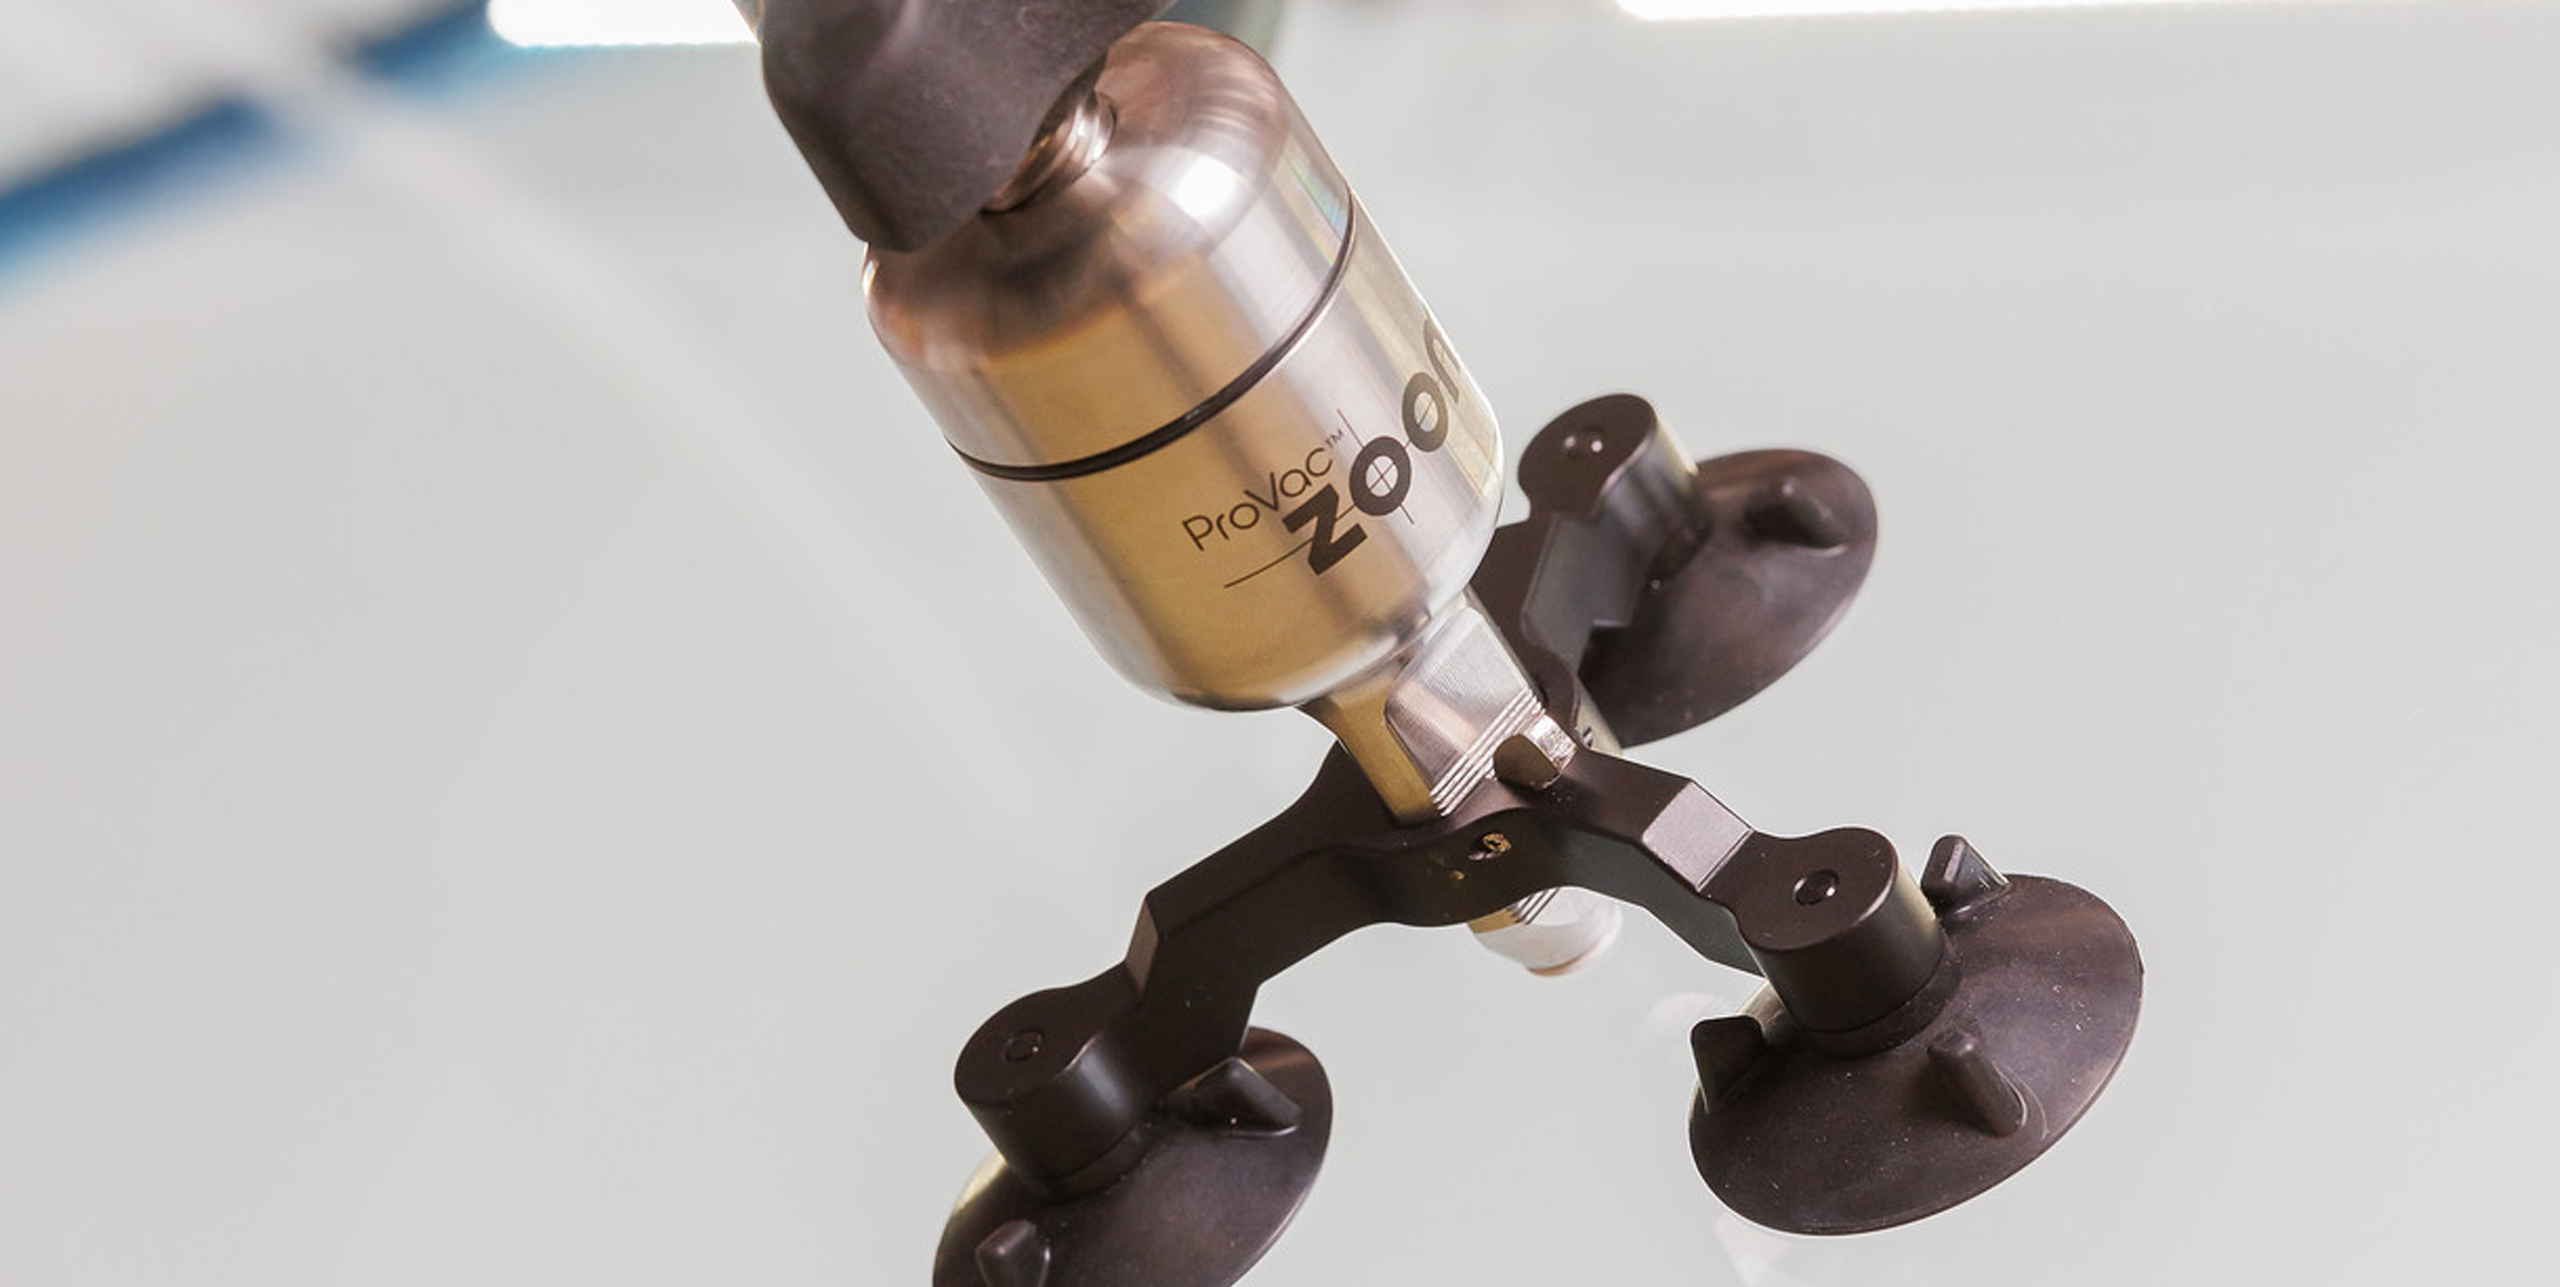
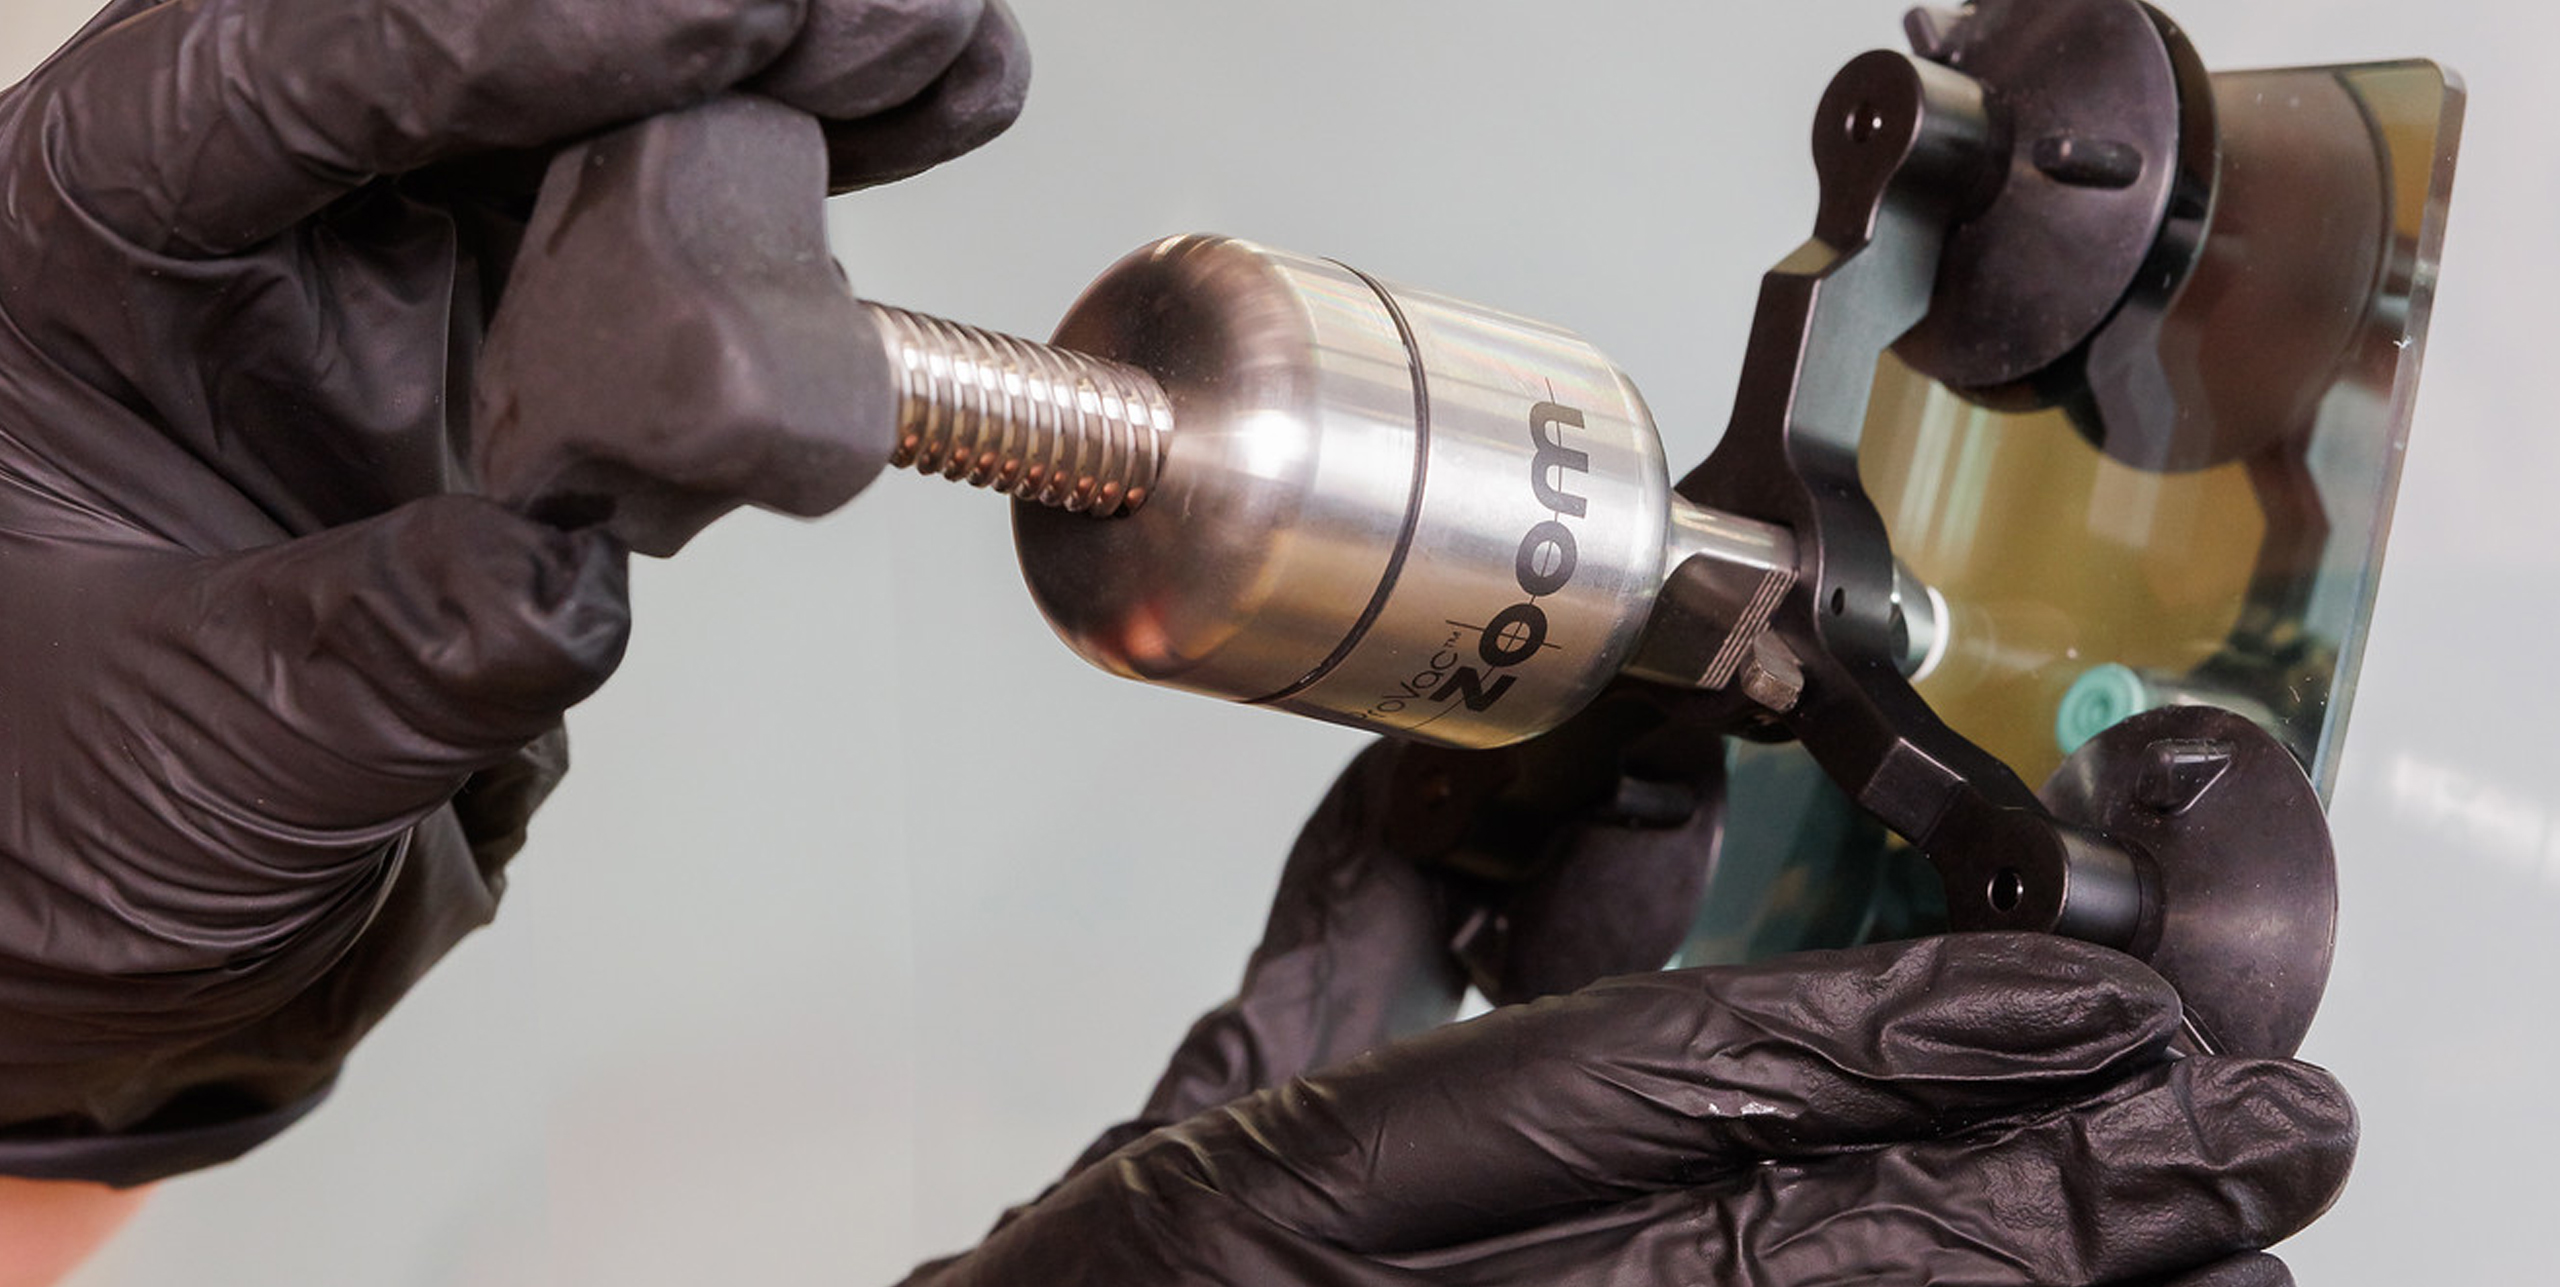
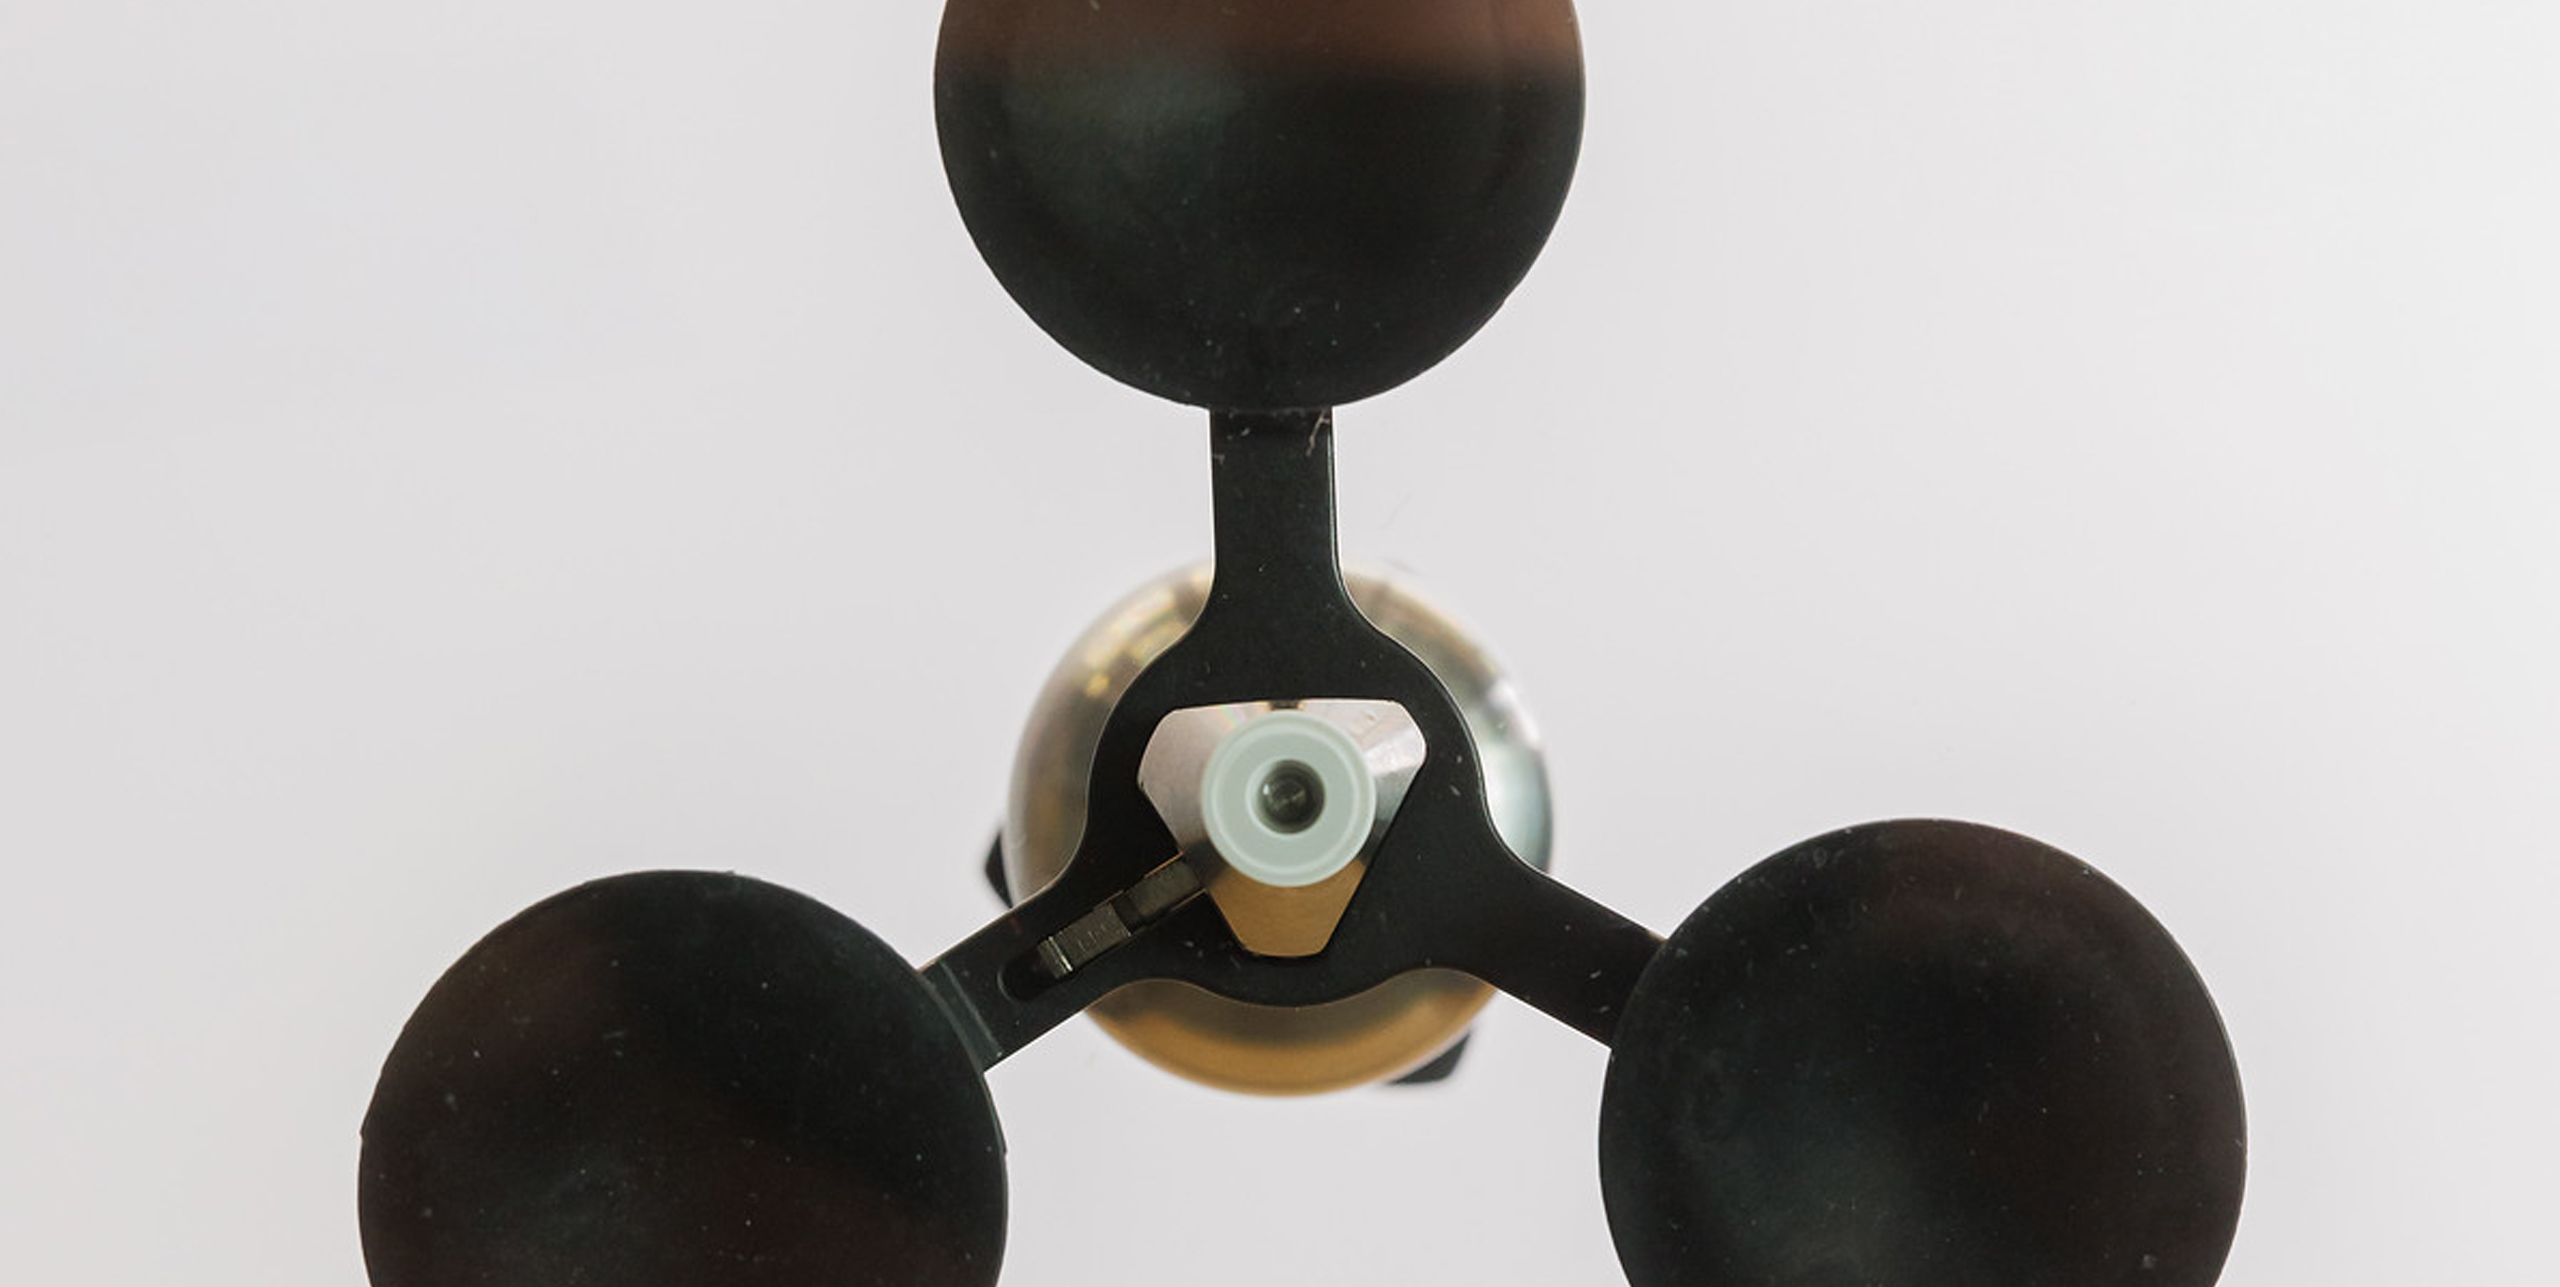
Step Two
Mount the Zoom
Attach the tripod stand to the glass, and mount the Zoom over the impact point of the break.
2/8
2/8
How to Repair a Windshield
Step Three
Remove the Air
Initiate a vacuum by turning the Zoom handle counterclockwise until it stops. Leave it for at least one minute.
3/8
3/8
How to Repair a Windshield
Step Four
Inject the Resin
Turn the Zoom handle clockwise until you see the Outer White Seal flare. Allow resin to flow for at least one minute.
4/8
4/8
How to Repair a Windshield
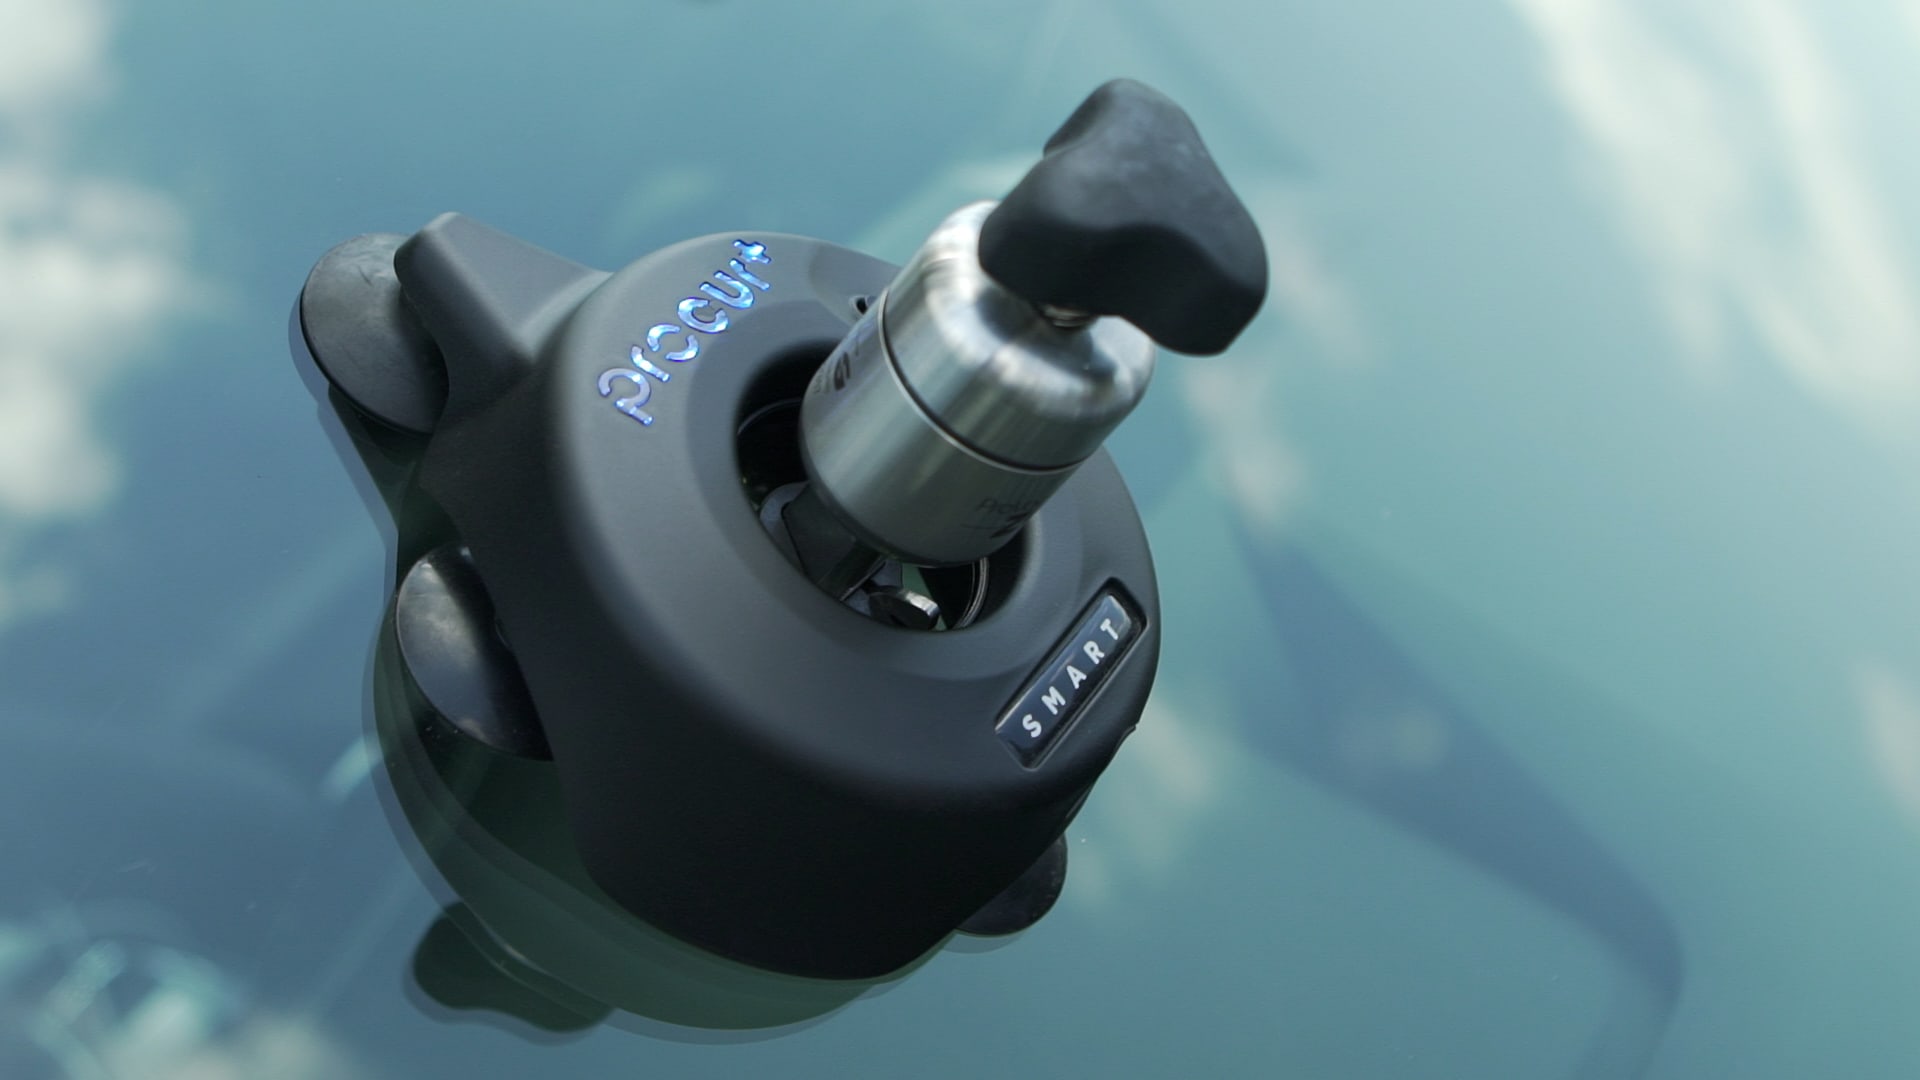
Step Five
Cure the Resin
Place the ProCur curing light directly over the Zoom. Press the button to start curing.
5/8
5/8
How to Repair a Windshield
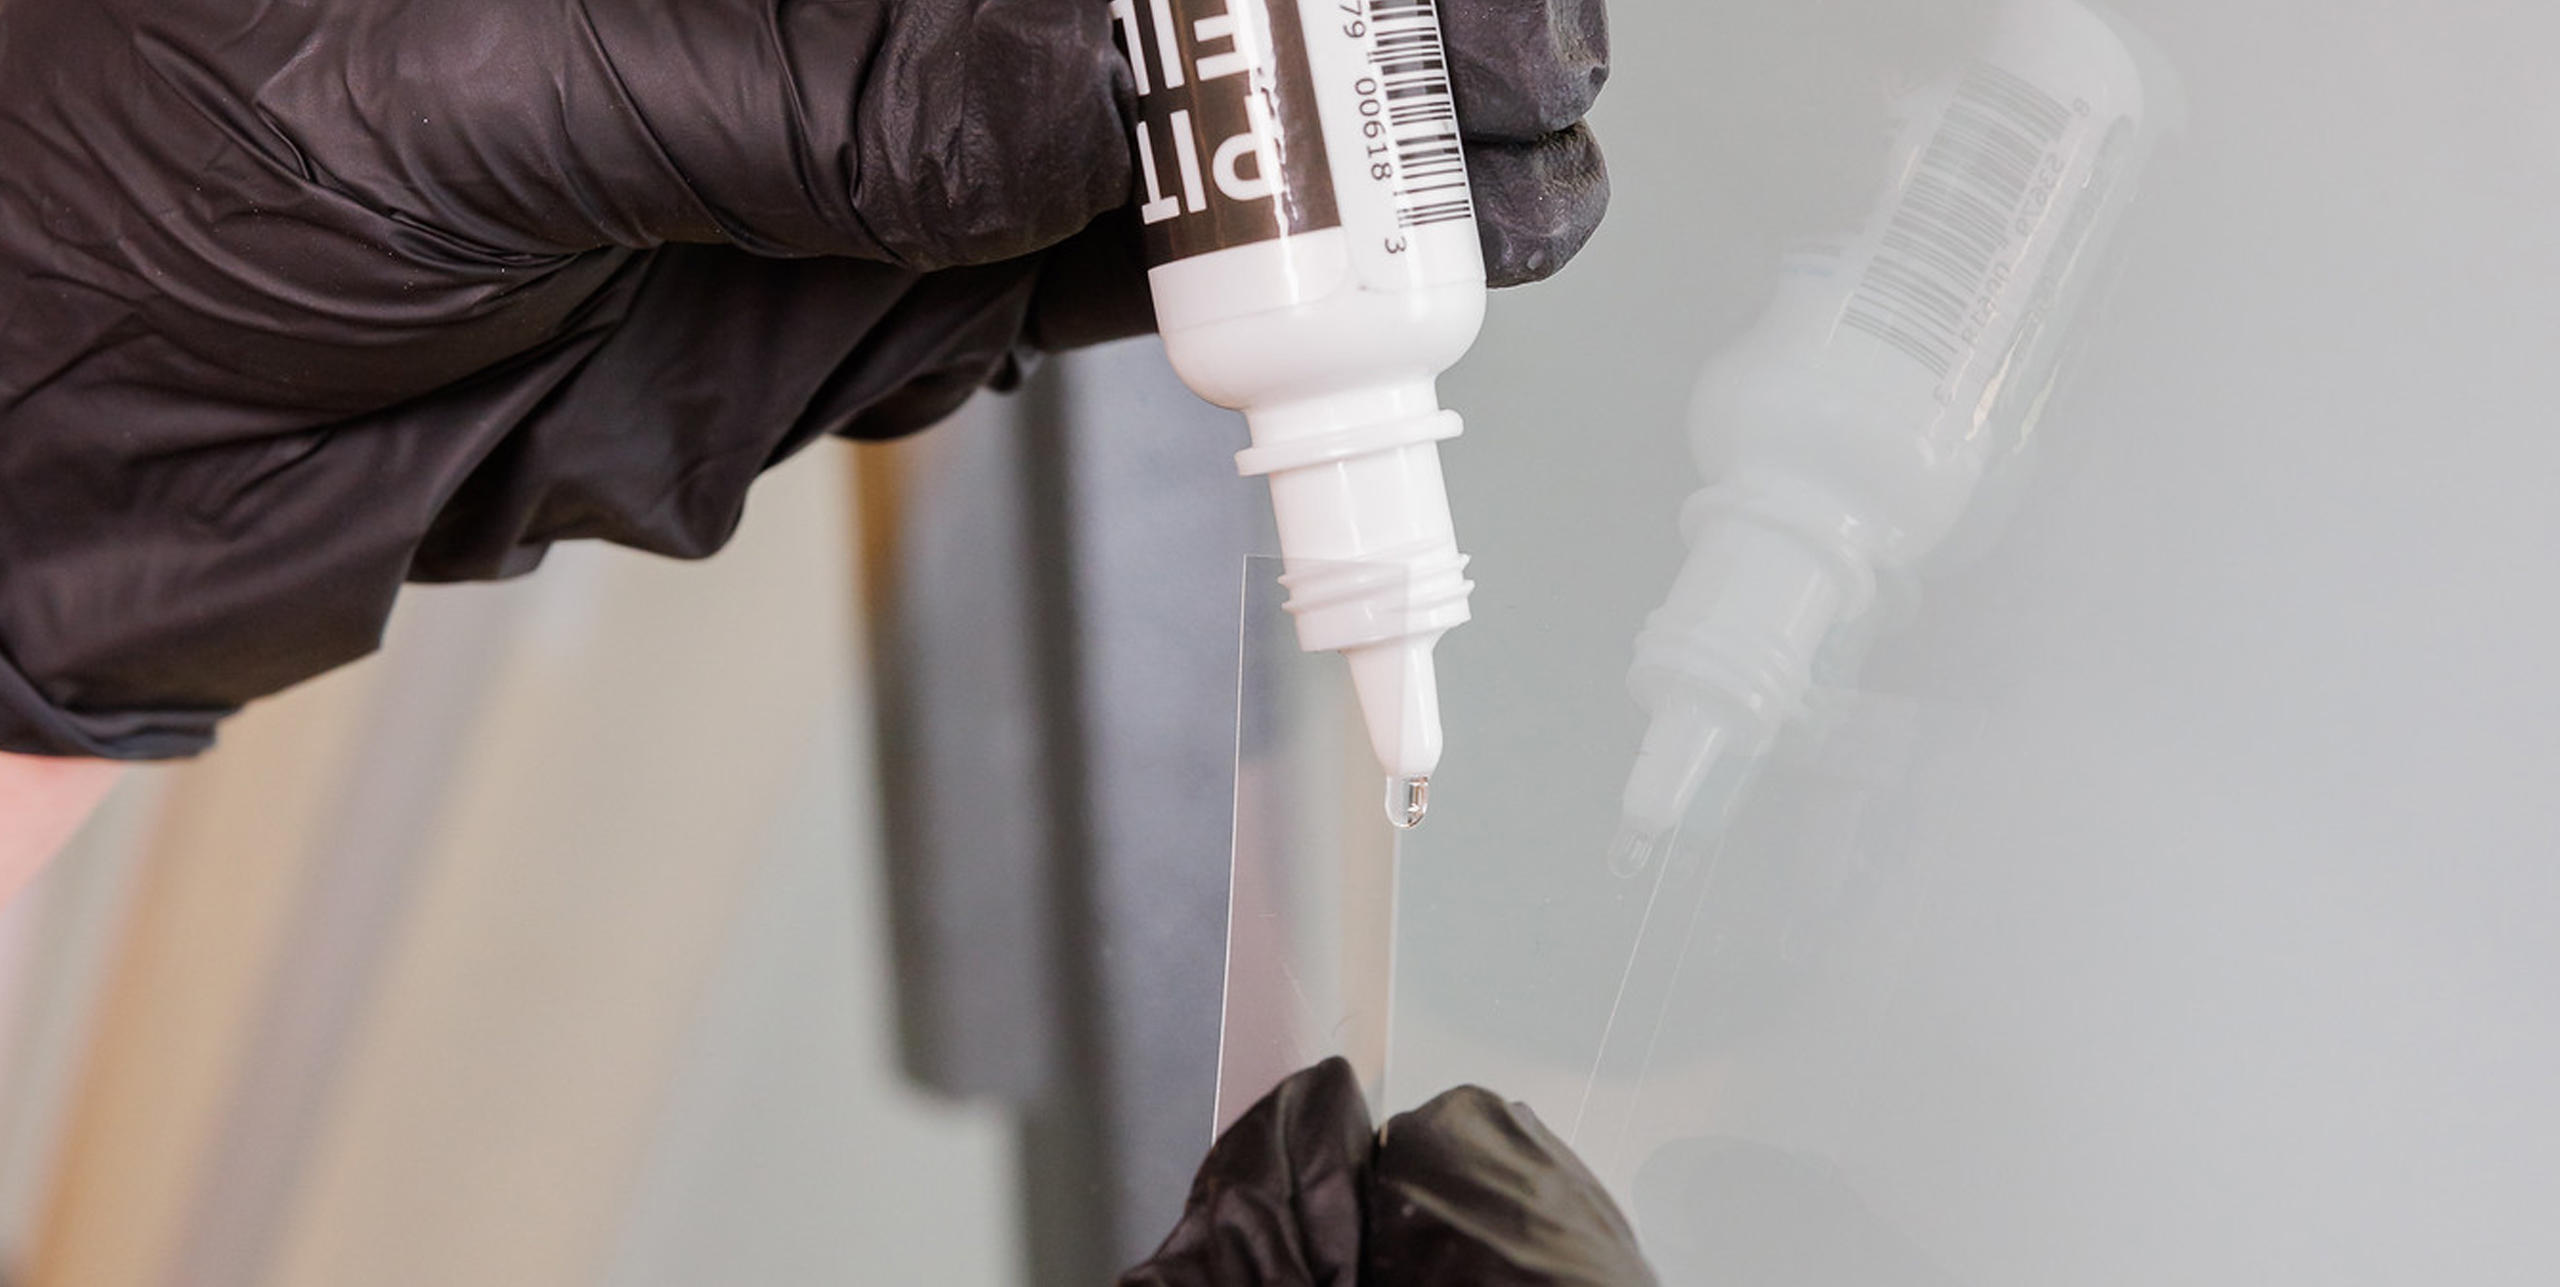
Step Six
Fill the Pit
Remove all tools from the glass. Use one drop of Pit Filler and a Film Tab to level the surface of the glass. Cure the Pit Filler.
6/8
6/8
How to Repair a Windshield
Step Seven
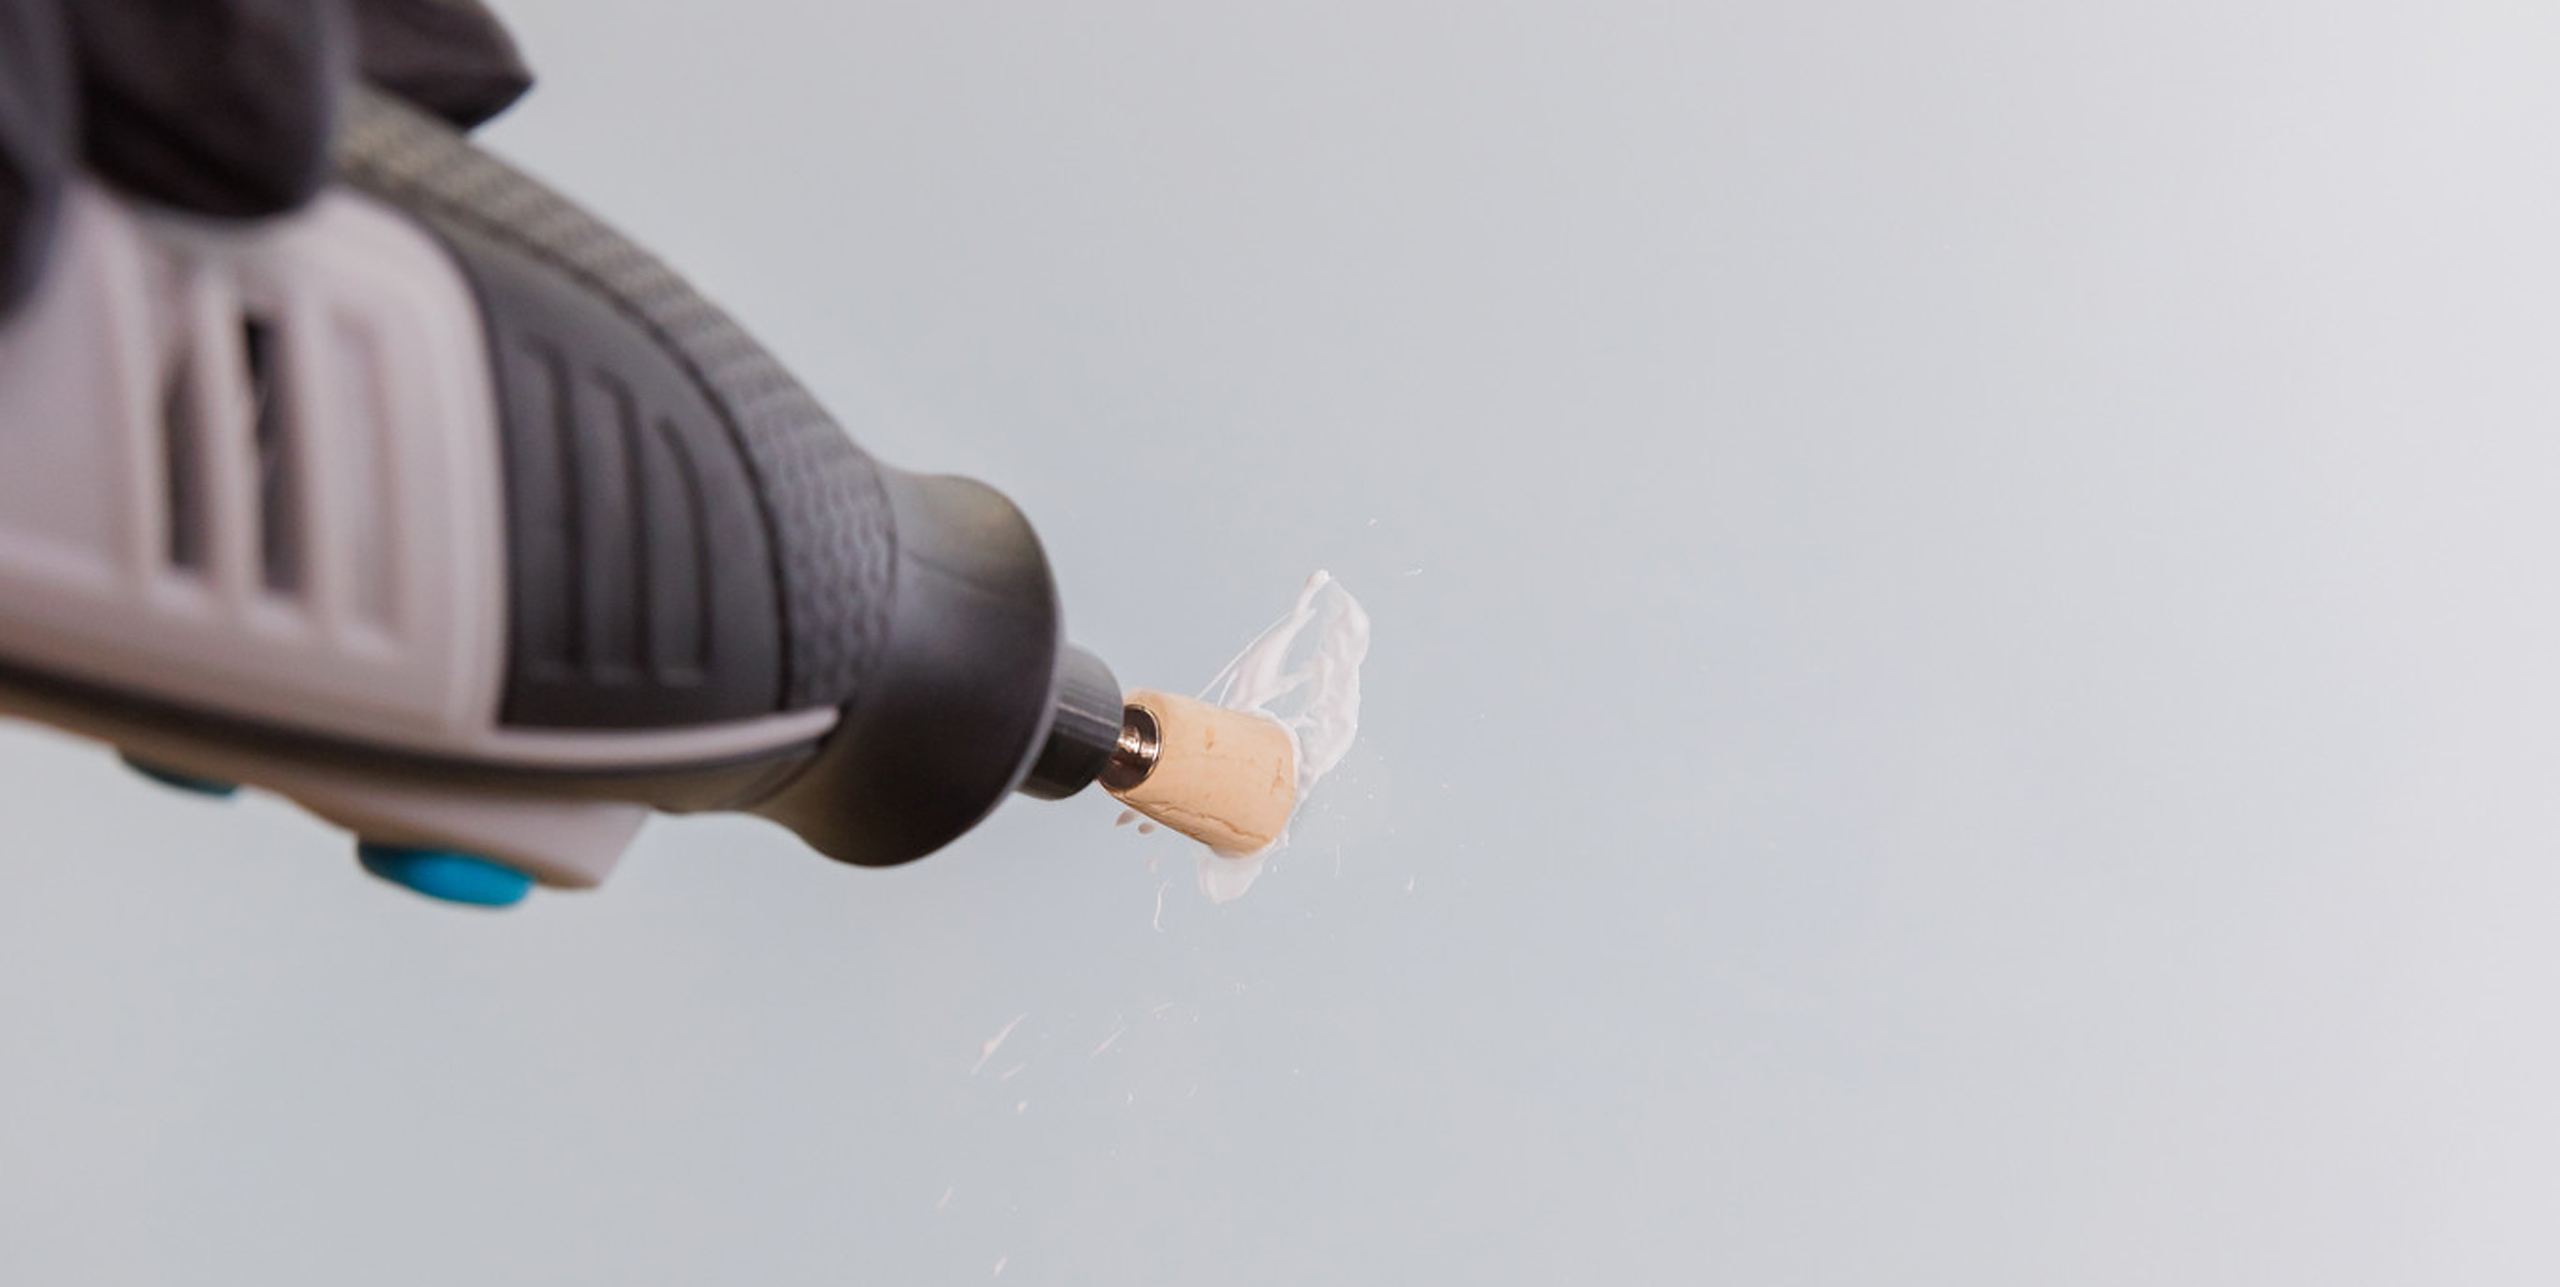
Polish the Repair
Use a razor blade to remove the extra Pit Filler. Use a small drop of Pit Polish and a cork to polish the repair.
7/8
7/8
How to Repair a Windshield
Zoom Demo
See It in Action
Most rock chips can be repaired in just a few minutes.rn
8/8

8/8
Products Used:
Professional Windshield Repair Kit
Shop Now